Mod texture Definition
Texturing refers to the process that produces various patterns on the surface of a metal product through chemiosmosis, such as stripes, images, wood grain, leather pattern and stain, etc., while also including sandblasting, which means spraying glass sands directly onto the surface of a metal product.
The Purpose of Mold Texture
- Improve product appearance. The texturing process is able to camouflage part of the shrinkage, welding line, parting line and steps of slider, etc.
- Product surface strength can be improved via texturing and sandblasting.
Varieties of Mold Texture
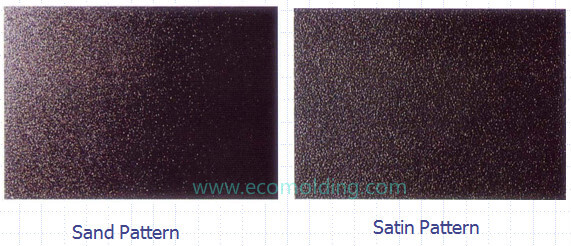
- Sand Pattern
Characteristics: Fast process, low cost and able to produce fine and 2D patterns.
- Satin Pattern
Characteristics: Fast process and able to be applied to a plane surface. Twice as durable as the sandblasting process, and able to cover the weld lines and sagging marks on a rough surface.

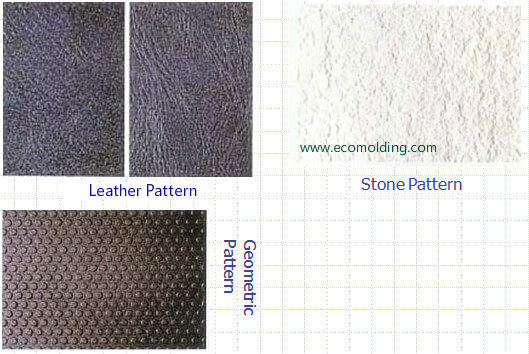
- Leather pattern and others
Characteristics: Durable. Product surface is abrasion resistant though cannot be fixed completely. Able to remove burnt and rust marks caused by chemical gases through surface treatment.
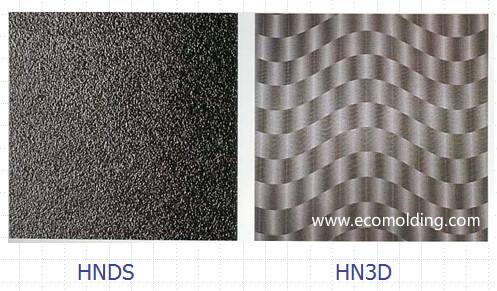
Other textures include stone/geometric patterns, HNDS and HN3D which are not commonly used. This time, we are going to do the satin pattern.


Procedure of Mold Texturing
- Cleansing
Clean the mold cavity surface, to remove surface oil/grease.
- Sealing
Apply adhesive paper or corrosion resistant coating to the cavity surface that does not need to be textured, so as to prevent corrosion. This is the most time consuming step, during which the 3 commonly used sealing materials include: Thick adhesive paper, to cover the majority part of the cavity surface; thin adhesive paper, to seal the details; and corrosion resistant coating, to cover the area that adhesive paper fails to cover, e.g. complicated curvy surfaces.
- Drying
Dry the anti-corrosion coating.
- Surface treatment
Carefully wipe the cavity surface to be textured using absorbent cotton, to make it free from any dirt, thus ensuring the texturing effect
- Texturing
Apply a coating to the cavity surface to be textured and then soak it in the corrosive fluid. During this process, attention should be paid to the texturing status. Repeated soaking is required to get the desired textures.
- Sandblasting
Sandblasting serves 2 purposes: A). To remove the residue liquid on the cavity surface after cleansing, with ammonia and pressure washer; B). To tune the gloss of the texture; different levels of gloss can be achieved by using different sands and different pressure levels.
- Post treatment
Cleanse the cavity surface and apply rust protection agent before delivering the mold parts back to the mold manufacturer.
Common Post-texturing Problems
Due to the fact that the mold cavity surface is roughened after texturing, the most common problems like scratches and stickiness to the cavity may arise. In some areas, the originally small draft angle will be made smaller after texturing, or even resulting in a negative draft angle sometimes, so scratches are often caused. During the ejection process, ejector marks tend to appear due to unfavorable mold release, thus greatly affecting the part appearance.
To resolve the problem of scratches and ensure smooth mold release, the textured surface usually needs to be sandblasted to reduce the texture depth and at the same time eliminate the acute angles caused by texturing. In the practical production scenario, it is very difficult to resolve the mold release problem by adjusting injection parameters, so release agent is usually applied to the textured surface to facilitate production. From the perspective of mold, the situation may be improved by increasing the draft angle in the scratched surface area/increasing the number of ejector pins.
